
What is a Print Ready File?
estimated reading time: 5 minutes
Meaning of "Print Ready"
A Print-Ready file, also known as a Press-Ready
file, refers to a digital artwork file that contains all of the formatting and
technical specifications required for high-quality print production. In other
words, an artwork file is considered print ready if it won't
require any additional adjustments or modifications to be made by your printer after
you have submitted it for production. A print-ready file will print successfully without intervention.
Here are the Key considerations for Creating a "Print Ready" Artwork File:
Proper Set-Up for Bleed: a bleed refers to a portion of the
artwork that will be set up to print slightly beyond the sheet's trim line.
Usually set to extend 0.125" past the edges, the bleed areas get trimmed off
when the sheet is cut down to the requested size.
Not all print projects require a bleed, but if any part of your
printed design (such as an image, pattern, or color) will extend to the edge of
the paper, a bleed will be required. Any artwork that has a bleed will be printed
on a sheet larger than the desired finished size. After being printed, this larger
sheet will be trimmed down to the correct size.
A bleed is needed to compensate for any vibrations or slight
shifts that might occur during the final trimming operation. If the goal is to have the printed design extend all the way to the paper's edge, the
potential for slight machinery movement must be compensated for in the artwork layout.
It is more logical to simply cut through a section of
extended artwork (the bleed area) than trying to hit every trim line dead center with a paper shear and risk having a sliver of the
paper's base color appear along one or more edges of the finished pieces. A bleed simply provides the adequate
amount of "wiggle room" needed to ensure the perimeter edge(s) receive the
proper ink coverage and that no part of the paper is left exposed.
Trim Marks: also known as crop marks, trim marks are thin
lines placed near the corners of an artwork layout to indicate where the paper will
be trimmed. Whether a document is set to print 1-up or multiple-up, the trim
marks act as a guide for the paper shear to ensure each individual piece is cut
to the correct dimensions.
Adequate Margins/SafeZone: do not place any critical information,
such as text, page numbers, etc. within 0.25" of any edge. This will provide a
buffer zone to prevent vital info from getting too near the document's trim
lines.
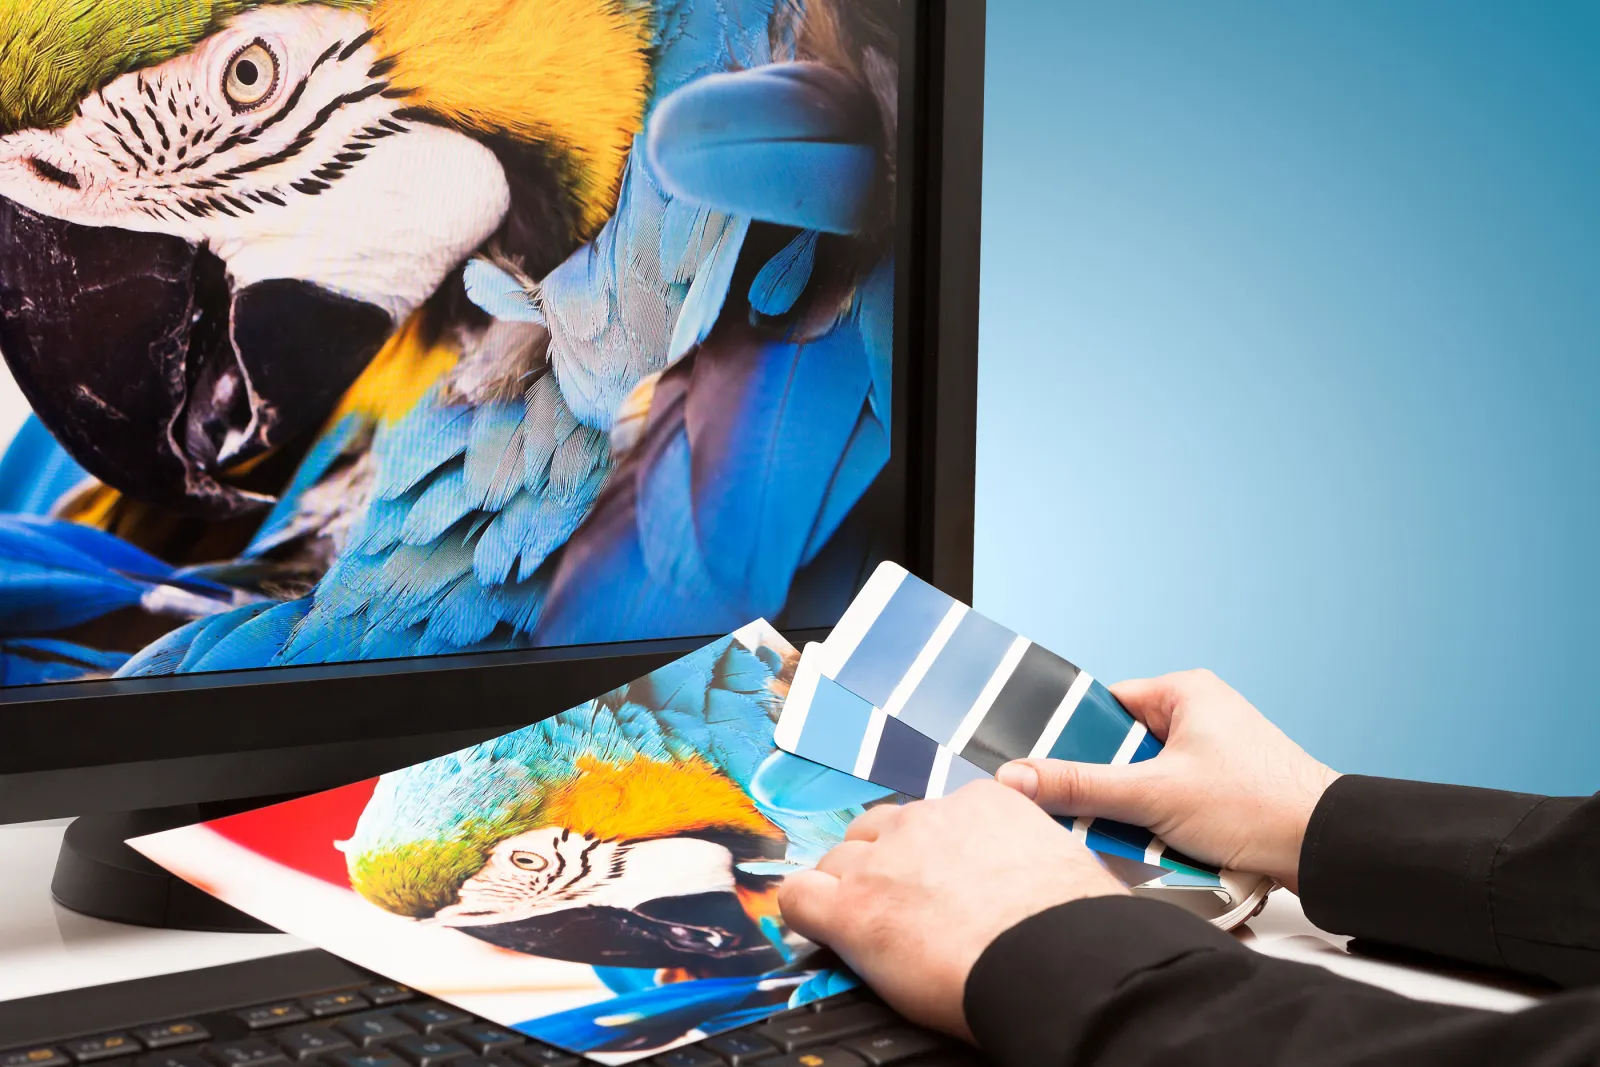
Proper Color Mode: when printing in full color, commercial
printing presses use the CMYK color mode. CMYK indicates the ink colors of Cyan,
Magenta, Yellow, and Black (Key). These four ink colors are applied to the paper
as tiny dots, where they intermingle to create full-color printing. So, when creating
artwork files to be printed on commercial presses, do not use the RGB (Red, Green,
Blue) color mode for images or other elements of the design. Otherwise, the RGB
colors will convert to CMYK colors, potentially altering the appearance to
something you were not expecting.
Pantone Colors Identified: if your print project will
incorporate any colors from the Pantone Matching System (also known as PMS
colors or Spot colors), be sure to clearly specify the Pantone numbers in your
file.
Fonts Embedded or Outlined: just because you have a font installed on your
system does not necessarily mean your printing company will have the exact same
font on their system. So if you submit an artwork file that contains a font
that your printer doesn't have, they will encounter an issue when they go to
work with the file. They will either be confronted with an error message, or
their system may substitute a different font for the one you used. Of course,
neither situation is desirable.
There are a couple ways to prevent this from happening. You
can use your graphics software to Embed the fonts, which will capture and add
your font data to the file. This allows your printer's software to access your
fonts and use them properly. Another way to prepare your fonts for your
printing company is to use your graphics software to Outline them, which converts
them from editable text to graphic images, namely vectorized shapes. Outlining
allows your text to print as you intended without having to worry about whether your
printer has the fonts or not.
High Resolution Images: to make sure images will appear
clear and sharp when printed, they should be set to a minimum resolution of 300
dpi (dots per inch).
Flattened Layers/Transparency: before exporting your file to
a PDF, flatten all layers and resolve transparency issues to avoid any unexpected
results during printing.
Preferred File Format: most printing companies prefer that
you submit your artwork file as a PDF (Portable Document Format). This is
because PDFs have universal compatibility and can be opened by nearly every
type of computer. Hence, PDF files can be exchanged without regard for which type
of software, hardware, or operating system is being used by the sender of the
file or the recipient. PDF files also preserve layout consistency, are editable, and compress well to save storage.
Though PDF files are far and away the preferred choice, other
files types accepted by most printers include Adobe InDesign (INDD), Adobe Illustrator
(AI), and Adobe Photoshop (PSD). Additional commonly-accepted file types are TIF,
EPS, and sometimes high-quality JPEG.
If you have additional Questions, Color Vision is here to Help!
Submitting artwork files that are "Print Ready" helps to avoid
delays and ensures your print projects will turn out exactly as intended. To
further assist, Color Vision has an in-house pre-press department to preflight
all artwork submitted with a printing order. Visit our How to Submit Artwork
page for instructions on how to send us artwork files.
If you have any questions or want to discuss an upcoming
project, give us a call at 800-543-6299. Or, if you are looking for a
quote, use our Quote Request form to send us your specifications and we will be
happy to prepare a custom quote for you.
As always, we look forward to assisting with
your next print project!
Related Articles
Printing Paper: Text Weight vs Cover Weight Explained
Read This Article

10 Frequently Asked Questions about Bleed and Crop Marks
Read This Article
Serif vs Sans Serif Fonts: Which to use for a Print Project?
Read This Article

Raster vs Vector Images: The Key Differences Explained
Read This Article