
10 Ways to Reduce Printing Costs for Instruction Booklets
estimated reading time: 7 minutes
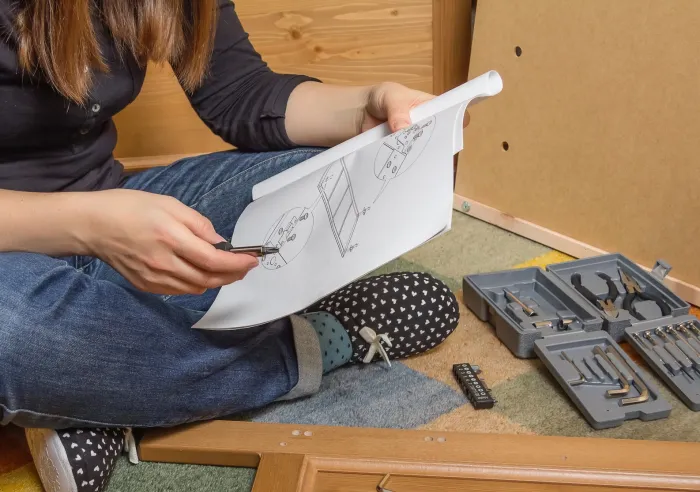
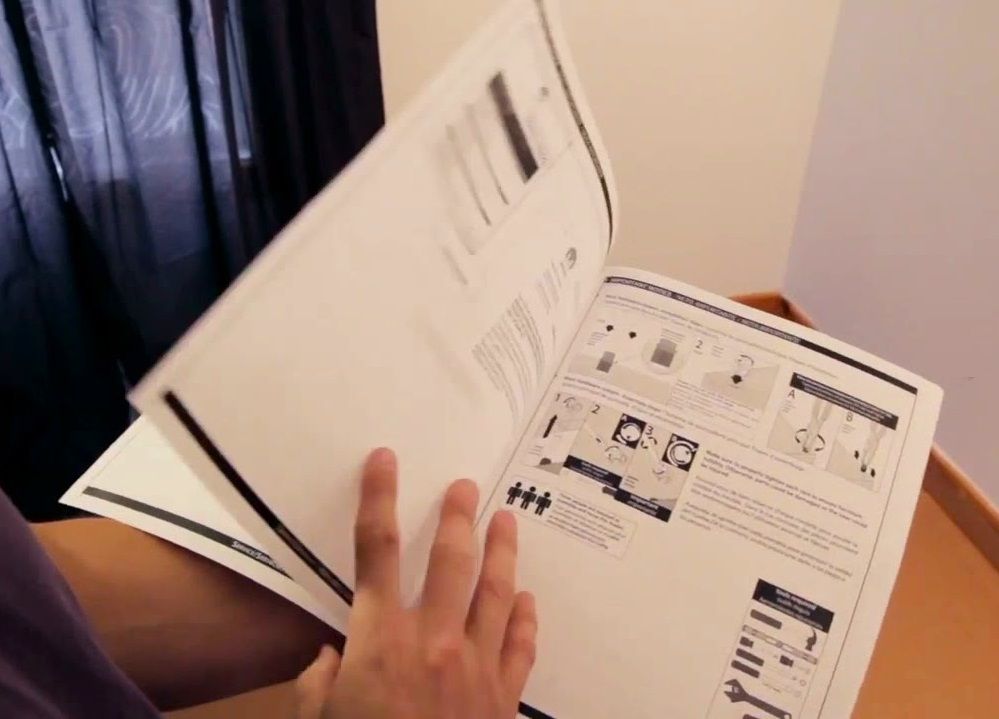
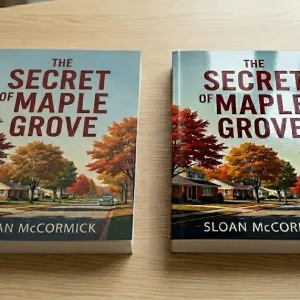
Printed Instruction Booklets
Most consumer products come with printed instructions. These
instructions offer essential information about assembling, operating, and maintaining
the product. In order to provide information that is detailed and thorough, these
instructions often take the form of a multi-page booklet.
Fortunately, when it comes to printing instruction booklets,
there are a variety of ways to minimize the cost. By exploring the different
options available to you, you can reduce your printing expenses without
compromising on quality.
With that in mind, here are 10 recommendations that will
result in the lowest possible cost for your instruction booklets...
1. Use Saddle-Stitch Binding
Saddle Stitching is the most economical binding style. Though
it is a very simple binding method, it provides a very professional appearance
and adds minimal weight or bulk to the printing.
Saddle stitched books are made from printed sheets of paper
that have been folded in half. The folded sheets are nested together and several
wire staples are driven through the fold line to secure the sheets into a
booklet.
After the booklet has been stapled, the pages are folded
tighter together and the three open edges of the book are trimmed uniformly. Each
folded sheet creates four pages of the book.
2. Pick the Self-Cover option
Most books and booklets use a heavier paper stock for the cover. These are known as "Plus-Cover" books and require two separate production runs - one for the lighter interior pages and one for the heavier outside cover. Because the paper types for the pages and cover are not the same, each has to cycled through the printing press separately, then matched up and collated together prior to binding.
Conversely, a booklet made with the "Self Cover" option
uses the exact same type and weight of paper for the cover as it does for the
pages. Because the paper is the same throughout, the entire booklet can be
printed, folded, and assembled in a single production run rather than two.
Hence, the efficiency of manufacturing Self-Cover booklets saves
time and effort, resulting in a lower unit price.
3. Select a Standard Size
The most common page size in the United States is 8.5" x 11".
As such, 8.5" x 11" paper is readily available and very economical. The 11" x 17"
paper size is also very common and affordable.
If you follow our advice about using the Saddle-Stitch
binding method for your instruction booklets, a booklet with a finished size of
8.5" x 11" will be constructed from sheets of 11" x 17" paper that have been
folded in half. Likewise, a booklet with a finished size of 5.5" x 8.5" will be
constructed from sheets of 8.5" x 11" paper that have been folded in half.
Because these paper sizes are so common, booklets made with
a standard finished size of 8.5" x 11" or 5.5" x 8.5" will result in the best
price. This is especially true when using a sheet-fed digital press to print on
standard cut sheet sizes and the artwork has no bleed (see Item #4 below).
Sheet-fed offset presses use large parent sheets instead of
cut sizes. Even though these larger sheets must be cut down to the desired size
after being printed, the booklet sizes of 8.5" x 11" and 5.5" x 8.5" are still among
the most economical sizes for traditional offset presses.
4. Don't use Artwork with a Bleed
In printing, "Bleed" refers to any portion of artwork that extends
beyond a sheet's trim line. Usually set to extend 1/8" past the edge(s) of a
sheet's finished size, the bleed areas are trimmed off when the sheet is cut to
the desired size.
The bleed area acts as a buffer zone to allow for any
vibration or shifting that might occur during the final trimming
operation. This allows the printed artwork, such as a background design,
pattern, or color, to extend all the way to the outer edge(s) of the finished
piece without the base paper color showing along any perimeter edge that has a bleed.
Pieces that require a bleed are printed on sheets larger
than the desired finished size and then trimmed down to the finished size. For
example, if your instruction manual has a finished size of 8.5" x 11" and
requires a bleed, it won't be able to be printed on standard 8.5" x 11" paper (or standard 11"x 17" paper if using saddle stitch binding). The
paper will need to be larger to accommodate the bleed area(s) and the trimming
necessary.
Of course, the excess paper trimmed off with the bleed will
be waste, which will add to the overall paper cost of the project. Though bleeds are
great for colorful and/or promotional print projects that need creative flair, it is best to forego the use of bleeds when striving for the lowest
possible cost on no-frills documents like instruction booklets.
5. Go with a Portrait Orientation
A Portrait orientation refers to a document that is taller
than it is wide. This is in contrast to a Landscape orientation, which
describes a document that is wider than it is tall.
As you have likely observed throughout your life, the vast majority of books and booklets have a portrait orientation. This is because the vertical aspect of the portrait orientation provides an appealing look and function.
Because of its immense popularity, it should come as no surprise that most of the equipment used to print and bind books is geared
toward the portrait orientation. The grain direction and dimensions of most
paper stocks are also intended primarily for portrait work.
Because portrait-oriented books and booklets can be produced
more efficiently, they are more economical than comparatively-sized landscape
booklets.
6. Choose 50# White Offset paper
The type of paper used for instruction booklets can significantly
influence the cost. That said, 50# White Offset is our budget-friendly recommendation. This paper type is not only inexpensive, it is also widely available.
50# Offset is an uncoated paper stock that is equivalent in
weight and appearance to 20# Bond. It is a suitable all-purpose stock for
instruction booklets and the white color provides good ink contrast.
Due to its popularity, most print shops keep this paper in
inventory and offer it for a low price. Hence, 50# Offset is extremely well-suited for
projects where the cost needs to be kept to a minimum.
7. Print in Black Ink
In the printing industry, black is the most prevalent ink
color and the least expensive. Because instruction booklets are used primarily
for informational purposes and are not really intended to grab attention the way
a colorful promotional piece does, the cover and pages can generally be printed
entirely in black ink to save money.
8. Use Grayscale Images
This recommendation is in lockstep with the aforementioned
advice to print in black ink. This is because Grayscale images are created
solely by using black ink.
To create images, the black ink is used in various
concentrations to produce contrasting shades of gray. Images produced using
grayscale printing may be devoid of color, but they are still very sharp and high
in quality.
Printing full color images uses all four CMYK ink colors in
combination, but grayscale images only require the single ink color of black.
Naturally, using one ink color instead of four ink colors yields a lower
cost.
9. Match the Order Quantity to the proper Production Method
Generally speaking, Digital printing presses are more cost effective on lower order quantities and Offset printing presses are more cost effective on higher order quantities.
For years, the breakeven order quantity between
these two methods was touted as being around 500. However, because the unit
cost of digital printing has come down in recent years, the breakeven point is now
closer to 1,000.
This means on any order quantity over 1,000, Offset printing will almost always be the clear winner on price. In fact, the cost of Offset printing drops substantially as the order quantity grows.
So if you happen to have a
need for thousands of instruction booklets, always compare the Offset pricing between
several quantities, such as 1,000 - 2,500 - 5,000. You will be pleasantly
surprised how low the unit cost will get on larger orders when using Offset printing.
10. Proofread thoroughly
Having to reprint a project can be costly, both in terms of
money, time, and wasted materials. So before forwarding your booklet's artwork
to be printed, review it carefully to ensure all the content is
accurate and error-free.
Prior to printing your instruction booklet, your printer
will also forward a proof copy to you. This will likely be in an electronic
format, such as a PDF document. The proof provides another chance to review
your booklet's content and layout before it is sent to the printing press.
So always take the time to thoroughly go over the proof and enlist
a few extra sets of eyes if you can. This will ensure your booklet is ready to print
and that your project will be a resounding success.
Are you looking for affordable Printing and Binding services?
By implementing some or all of the simple strategies outlined
above, you can effectively lower the printing cost of instruction booklets
without compromising the quality or effectiveness.
Of course, Color Vision is always here to help you achieve your
printing goals. We've been printing and binding all types of books and booklets
for decades, so if you are looking for affordable printing services be sure to
get in touch with us.
Just give us a call at 800-543-6299 and we will be
happy to discuss your project. Or, use our simple Quote Request
form to forward your specifications to us and we will send you a quote by
email.
As always, we look forward to assisting you!
Related Articles
Installation Manual Printing: 7 Frequently Asked Questions
Read This Article

What Is the Best Binding Method for Training Manuals?
Read This Article
Matte vs Gloss Lamination: Which Is Best for Book Covers?
Read This Article
Avoid the Gutter Trap: 5 Perfect Bound Book Layout Mistakes
Read This Article